
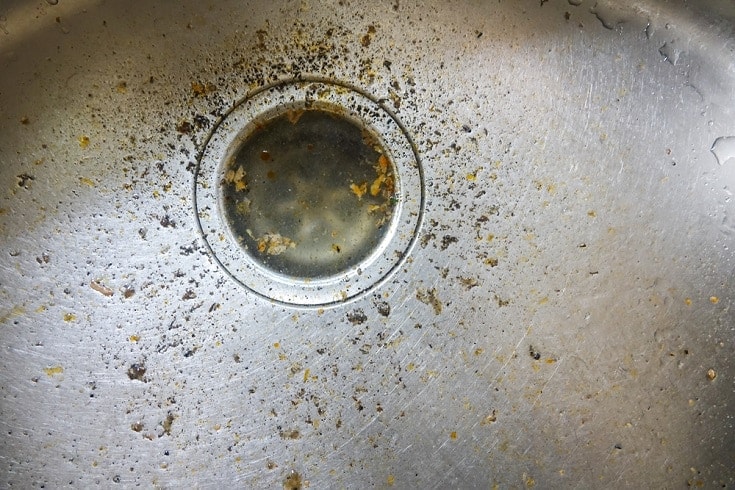
If you have a kitchen, you’re bound to experience a clogged drain at some point. While many kitchen sinks are designed to prevent clogs, even the best-designed sink may get clogged at some point. Out of all possible plumbing issues, clogged sinks are some of the most common issues.
Luckily, they are also some of the most straightforward problems to fix. Because they are so common, there are countless ways to unclog a kitchen sink without needing to call on a plumber. There are inexpensive tools designed to unclog kitchen sink drains, though there are many methods that do not include any extra tools at all besides what you already have lying around your home.
In this article, we’ll review some of the most common and easiest ways to unclog a kitchen drain.

1. Use Boiling Water
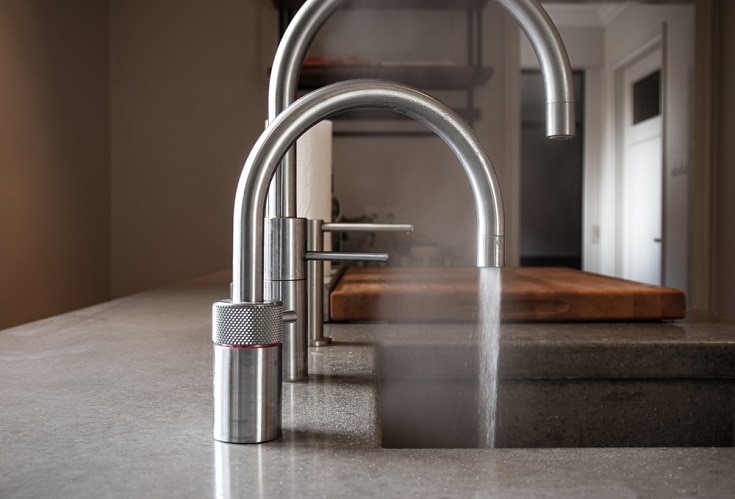
Depending on what exactly is clogging your drain, you may be able to remove the clog with boiling water. Things like grease and soap scum can easily clog drains but are also dissolvable with hot water. Even if this does not solve the matter entirely, it can loosen up the things clogging your sink, which may help some other methods work a bit better.
This is by far the easiest fix in this article – which is exactly why we recommend trying it first. If it doesn’t work, you aren’t out very much time or money.
Using boiling water is extremely difficult to mess up. We do recommend using at least a half-gallon, though more is not necessarily a bad thing either. Heat the water on the stove, and then pour it down your sink.
Occasionally, hot water from your sink may also help the clog move and dissolve. However, your sink typically can’t get as hot as boiling water. Because of this, we highly recommend trying boiling water instead of merely relying on the water from your tap.
It is worth trying this method more than once, mainly because it is so easy there is little reason not to try it multiple times. However, after about two tries, it is likely time to move onto another method.
2. Inspect the Garbage Disposals
Garbage disposals can be extremely useful. However, they are also the cause of many drainage issues. They can get clogged quite easily. Luckily, it usually only takes turning them on for this clog to dissipate. If you have a garbage disposal and your sink is clogged, try switching it on – even if you haven’t necessarily put anything down your drain lately. This is a very easy fix.
The problem occurs when the garbage disposal breaks or overheats. In these cases, you may not even be able to turn the garbage disposal on. Sometimes, units come with a reset switch somewhere on the side or bottom. If the unit has had a momentary issue, you may be able to reset it. After resetting, try turning it on again to clear the clog.
If the garbage disposal is coming on, but you only hear a humming sound, it may be broken or jammed. This is a sign that it is turning on, but it is not chopping anything up. Something is not working correctly, though what exactly that is can vary widely. While it may be tempting to try and fix your garbage disposal yourself, this should be approached with extreme caution. You should never stick your hand into the garbage disposal in an attempt to clear a clog. It is dangerous and probably won’t get you anywhere.
Alternatively, you can turn the blades manually to clear a clog. How exactly this is done can vary from unit to unit. Usually, you insert an Allen wrench into a hole at the bottom of the disposal. Twist it and gauge the resistance level. A lot of resistance usually means that there is a clog of some sort. Keep turning until that clog has been cleared.
Once the garbage disposal has been unclogged, you should turn it on and ensure everything is working correctly.
Of course, just because you have a garbage disposal doesn’t mean it is the cause of your clog. There are a few other reasons your sink may not be draining properly.
3. Use a Plunger
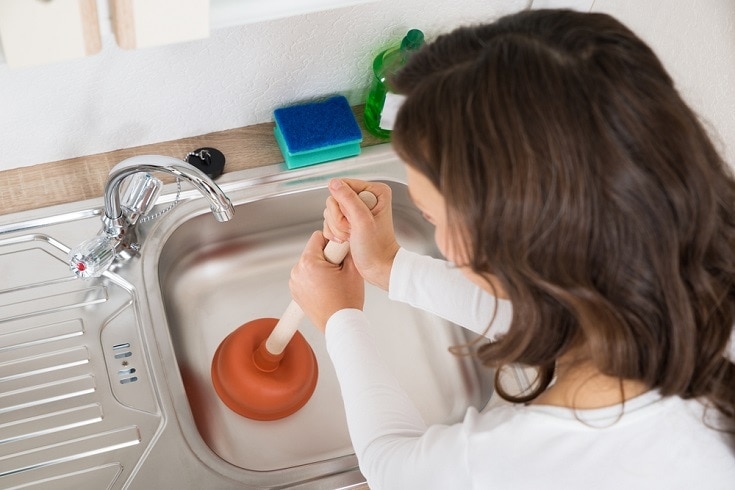
Plungers are the quintessential tool used to unclog any blockage. If your sink is clogged, a plunger is one of the cheaper tools you can use to unclog it. Even if you don’t have a plunger laying around currently, it doesn’t take much money to go out and purchase one.
You should preferably use a flat-bottom plunger for this job. This will give you better results for less work. However, if all you have is a regular toilet plunger in the house, you can use that instead. With your plunger on hand, you should follow the following steps:
- Fill the sink with water. You want at least a few inches of water to create a seal when you start plunging away. In many cases, filling your sink halfway should work. However, it can vary depending on how deep your sink is and the size of your plunger.
- Put the plunger over the drain and plunge! This is a pretty self-explanatory step. You shouldn’t have to work hard. If you plunge away for a few minutes and nothing happens, you probably aren’t going to get anywhere with this method.
- Check the drainage. Once you feel like you’ve gotten somewhere, it is time to check the drainage. You may have to repeat this process multiple times to get the drain free-flowing again. It depends on the extent of the clog.
This method should work for most clogs. However, there are situations where a plunger won’t do you much good. There are other ways you can go about clearing your drain, luckily.
4. Use a Concoction of Baking Soda and Vinegar
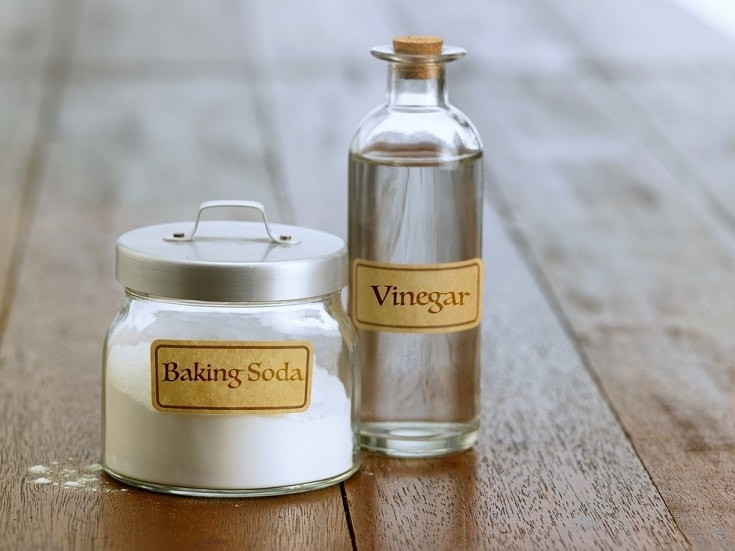
Instead of using a commercial-grade drain cleaner, you can make your own at home that is much safer than anything currently available on the market. All you need is baking soda and vinegar, which most people have lying around their kitchen anyway.
Before you begin, you will have to remove all the standing water in your sink. The easiest way to do this is to empty it down another drain using a bowl or cup. This may take a bit of time, but it is a requirement for this process to work correctly.
Next, pour about a cup of baking soda down the drain. Depending on the shape of your drain, you may need to use a spoon or spatula to get it down the drain. Then, pour one cup of white vinegar down the drain as well. As you might know, this will create a reaction. To ensure that the force sends the clog in the opposite direction (and doesn’t blow dirty sink water onto your ceiling), cover the drain with a stopper as soon as the vinegar has cleared the opening.
Leave the mixture alone for about 15 minutes. This will give it enough time to work and will lessen the chance that you’ll end up with a dirty ceiling when you remove the stopper. Once the stopper has been removed, you can run water down your drain to assess the clog’s extent.
If the sink is still clogged, now is an excellent time to use boiling water. This method tends to break the clog up, which can give the boiling water more room to work on the clog. If the clog was more intense, this method, along with boiling water, can be extremely useful.
Occasionally, you may have to do this method twice. It typically works on the first try if it is going to work at all. However, it never hurts to try again.
5. Use a Plumber’s Snake
For extremely tough clogs, you may have to utilize a plumber’s snake. These can be purchased online and at many hardware stores. They are more expensive than some other options, but they have a higher success rate.
The tool has a coiled “snake” that reaches down the drain. Once the snake hits the clog, you crank the handle to dislodge it and pull it out of the drain. They make both manual and electric models, which are both more expensive and more powerful.
If you don’t have a plumber’s snake on hand and cannot go out to purchase one for whatever reason, you can make a makeshift one with a wire coat hanger. Uncoil the hanger using a pair of pliers. Keep the hooked end intact, as this is the end you will send into the drain. You may need to adjust the angle and width of the hook depending on your drain’s size.
Whether you’re using a thrown-together tool or a commercial plumber’s snake, be gentle with this process. Too much force and you can send the clog further down the drain, which will make it harder to remove. When you start feeling some resistance with the tool, use the hook to dislodge the debris.
6. Check the P-trap
The P-trap is the elbow-shaped pipe directly underneath your sink. This piece of pipe tends to get clogged often because of its strange shape. Even if the debris isn’t very large, food, grease, and other debris can quickly build up here and cause all sorts of problems. A clog this far down will cause the sink to drain somewhat, but the water will never completely clear out of the sink drain.
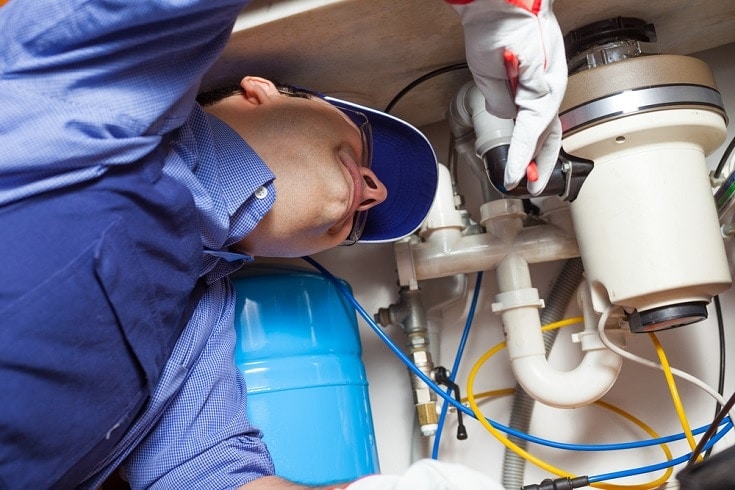
The easiest way to fix this problem is to disassemble the pipe to clean it. You should dress appropriately for the job. If there is a clog, there is likely plenty of dirty water. You do not want to ruin your clothes or have that stuff sitting on your skin. You should wear gloves and goggles. Have plenty of towels on standby in case you need them. You will also need a bucket to catch any stuck water that begins to flow once you remove the clogged pipe.
Place the bucket underneath the pipe. Then, begin to unscrew the connectors that hold the curved piece in place. Remove the P-trap and clean the pipe from any debris and residue. There are several ways you can do this, including using boiling water and simply rubbing it down with dish soap.
Reconnect the pipe back in place. Do the opposite of whatever you did to get it off. Once everything is back as it was, check to see if the clog is currently gone.
See also: How to Quickly Clean a Sink Trap: 4 Easy Steps
7. Check the Rest of the Pipe
If you’re still having problems with your sink drainage, then there is probably a problem somewhere else in the pipes. Once again, you’ll have to go under the sink to find the blockage. Remove the P-trap again, followed by the horizontal pipe that connects your sink to the plumbing in the wall.
Now, you can feed the plumber’s snake (or DIY coat hanger) into the wall. Hopefully, you’ll feel the blockage and be able to remove it. By giving yourself direct access into the wall, you extend your reach and hopefully reach the clog.
Use the tool to pull the blockage out once you find it. You may have to do this multiple times to completely remove the source of the clog.
Once you think you’ve removed the issue, you will need to reassemble the pipes. Simply do what you have previously done, but backward. Check to ensure that the sink is no longer clogged, and stick your head under the sink to ensure that there are no drips from the pipes.

What if it still Isn’t Working?
If your drain is still clogged after all of these steps and attempts, then there is likely a larger issue at play. You may have a clog near your septic tank or somewhere in your home. This will require a professional. While we recommend doing as much DIY as you can, especially for repairs, we do recommend contacting a professional in this case.
Preventing Clogs
A clogged sink can be a headache and a lengthy preparation. You could spend hours trying to remove the clog or pay hundreds of dollars to have a professional do it.
In this situation, an ounce of prevention can go a long way. After all, we have complete control over what gets shoved down our sinks. If you take some preventative measures, then you can likely reduce the odds of clogs happening again in the future.
There are a few things that you should not put down your sink, even if you have a garbage disposal. This includes grease, fats, and oils. These will not be removed easily by water and can cause clogs over time. They are also quite hard to remove once they create a clog. You should also avoid putting fruit pits and other large, hard things down the drain. Your garbage disposal may not be able to handle these properly, which can cause all sorts of problems.
Avoid overloading your garbage disposal as well. Do not try to shred more than a cup of food waste at a time. Garbage disposals can take a lot of beating, but they are not perfect. They can get clogged pretty easily if you overload them.
Related Reads:
- How to Unclog a Garbage Disposal (7 Quick & Easy Steps)
- How Often Should You Clean Your Garbage Disposal?
- How to Unclog a Garbage Disposal With Standing Water (8 Tips)
Featured Image Credit: I AM CONTRIBUTOR, Shutterstock
Contents