

Ready to paint your wall? Maybe you are prepared mentally, but there is also some important prework that needs to be done before you can reinvigorate your room with color.
Preparing a wall for painting is not hard, but it is critical to a job well done. Today we will go over how you can prepare your wall to enjoy the professional quality results that you deserve.
1. Repair Blemishes:
The first thing that you need to do is check your walls for holes, cracks, and other cosmetic blemishes that will not receive paint well.
Before you do anything else, make sure to patch, repair, and sand out any previous stress marks.
2. Wash Your Walls:
Once the cracks and blemishes are repaired, it will be time to give your walls a nice scrub. Cleaning your walls is easy, but it is also really important.
Many do it yourselfers ty to skip this step but doing so will be detrimental to the longevity of your paint job.
Washing your walls requires only a bucket of water, some mild soap or detergent, and a sponge for vigorous scrubbing.
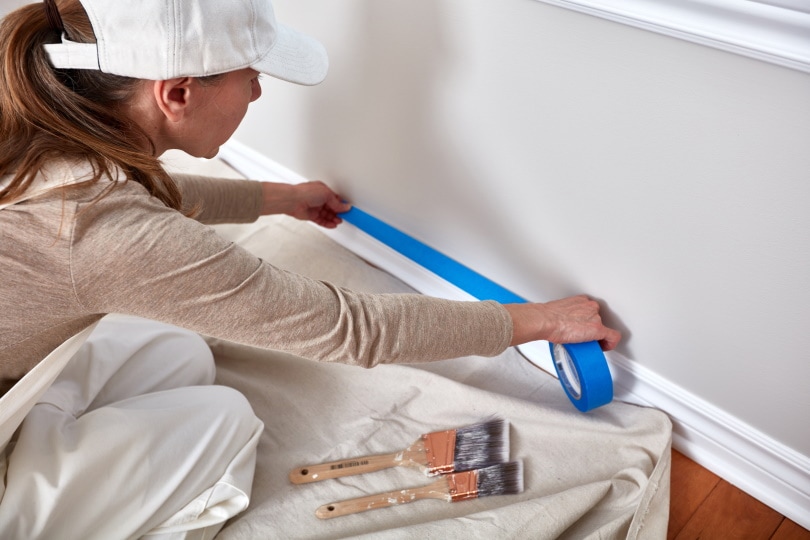
3. Painters Tape:
Before you get to this next step, do take the time to make sure that your walls are completely dried off. Once the surface is no longer damp to the touch, you may apply your painter’s tape around the trim, pressing down with a putty knife as you go to ensure that no paint seeps through.
The painter’s tape will ensure that you get a nice, crisp, paint line.
4. Prepare Your Surroundings:
It’s a good idea to remove as many of your belongings from the room that you will be painting as you can. However, what can’t move, you will want to cover. Throw down canvas drop cloths on your flooring and your furniture to keep them protected.
Many people will try to use old sheets, but this option is not optimal. Because of how thin sheets are, they are prone to leaking through, which naturally can cause problems.
5. Prime Time:
Now comes the time to bust out the primer. Adding a layer of primer to your wall is going to enhance the color of the new paint that will soon be put up. It also serves to further cover old paint and imperfections that would otherwise hinder the appearance of your paint job.
Priming the wall is a little bit time consuming, but it pays dividends.
6. Game Time:
You’ve done it! The wall is now ready to experience a professional caliber paint job. If you want to go an extra step, you can repair gaps between the wall and molding using a caulk gun.
Otherwise, it’s time to bust out the paints, and give your room a fresh look! Just remember that while some steps, like priming, or cleaning the walls may feel optional, the results that these measures produce are well worth your time. Now’s the time to bring out your paint gun, roller or paint brush!
Note: a few readers have been asking about the process of painting over wallpaper. We don’t have experience with this, so therefore we recommend reading this post from MyMyDIY instead.
Contents