House Grail is reader-supported. When you buy via links on our site, we may earn an affiliate commission at no cost to you. Learn more.
How to Drill Through Tile (Step-by-Step DIY Guide)
Pete Ortiz
Last updated:
It’s a different ballgame when it comes to drilling tiles. Their unusual texture increases the risk of making a mistake dramatically, ending up in a badly scratched or cracked tile. Therefore, even if you have cut your tiles perfectly and laid them out immaculately, this is not the time to stop and smell the roses, as you are about to embark on the most delicate part of the job.
Fortunately, using these instructions, you should be able to drill through your tiles like a pro.
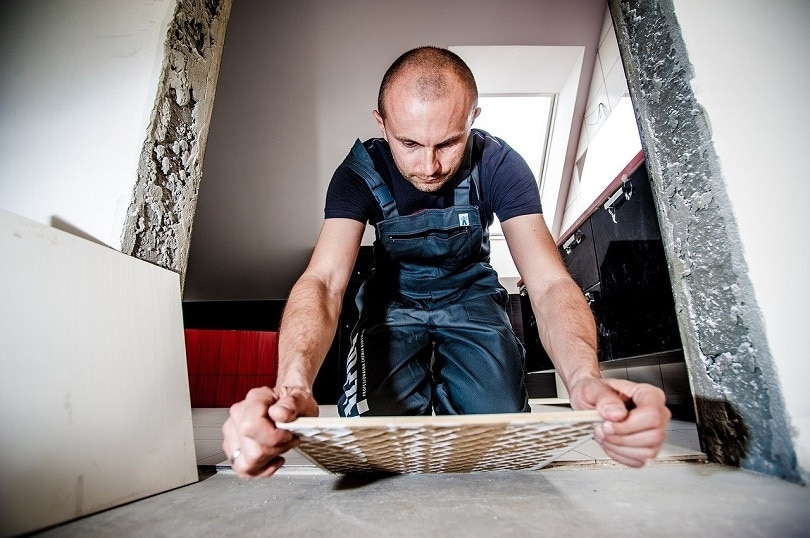
1. Understand the Tiles You Are Working With
Image Credit: jarmoluk, Pixabay
First off, know your tiles. This means understanding the specific characteristics of the material used to make your tiles. This will allow you to formulate an approach that suits that material best.
For example, porcelain and stone tiles are more difficult to drill through than ceramic varieties because they are quite dense. This means that they require more preparation and work than other ‘softer’ tiles. Moreover, you will require a specialized drill bit that is designed to penetrate hard surfaces.
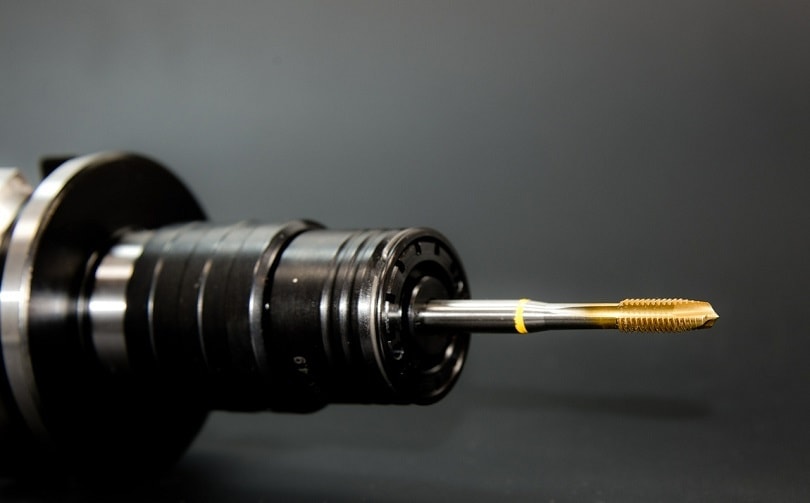
Most professionals prefer diamond-tipped bits when drilling porcelain tiles. However, they are considerably pricier than carbide-tipped masonry bits. Carbide-tipped bits, on the other hand, are popular for drilling stoneware and glazed ceramic tiles. Nonetheless, they are not a good option when it comes to penetrating porcelain.
Therefore, make sure that you bring the right drill bit for the job. Regardless of the material that you are working with, avoid using an old or worn-out bit even if it is designed for that material.
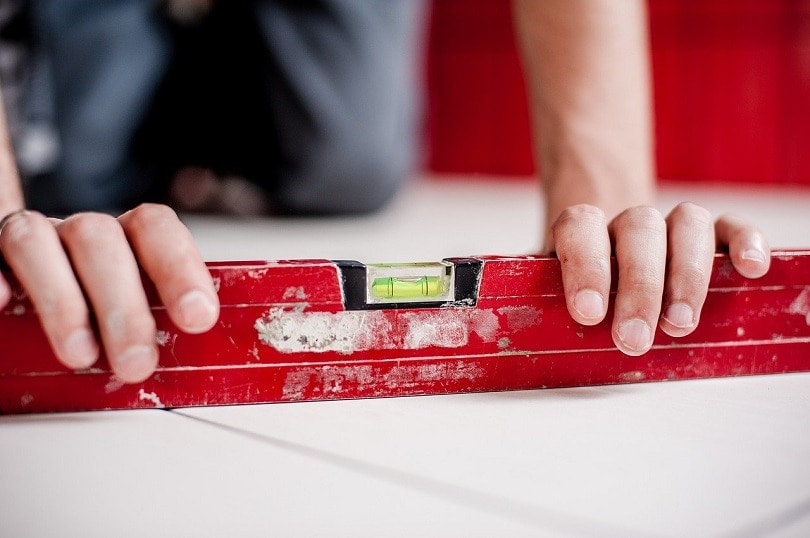
3. Mark the Spots You Want to Drill
Image Credit: jarmoluk, Pixabay
As mentioned earlier, the slippery surface of tiles makes it difficult to hold the bit in one place. A trick experts use to circumvent this issue is by applying masking tape over the spot you want to make the hole.
To do that, first mark the spot you want to drill into and then make an ‘X’ over it using two strips of masking tape. Next, confirm that the midpoint of the ‘X’ you made is where you want to drill. If that is the case, then you are good to go. Masking tape allows you surface traction, thus preventing the bit from slipping once you start drilling.
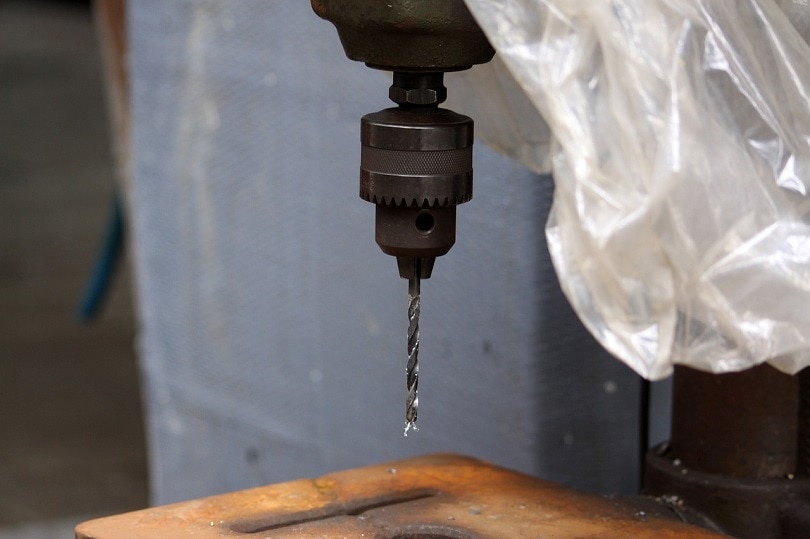
4. Start Drilling
Image Credit: blickpixel, Pixabay
If you have followed all the steps above correctly, you can now begin to make your holes. However, even with the perfect drill bit, you will find that tiles are incredibly difficult to drill through, as they are designed to withstand abuse. This can make you want to use brute force to penetrate the material. However, attempting to force your way through can result in the tile cracking.
As such, patience is key when drilling tiles. Start on low speed, applying constant pressure. Once you break the surface, you can increase the speed steadily as needed.
5. Keep Cooling the Drill
Image Credit: blickpixel, Pixabay
Since drilling tiles requires you to use the drill for prolonged periods, the machine runs the risk of overheating.
To avoid this, you will need to keep cooling the drill. Consider using a wet sponge for that task. You can also take breaks to spray some water on the tool while being careful not to wet the area where the motor is.
This is yet another reason why you should not over-exert the machine.
6. Switch Bits Once You Hit the Wall
Once you penetrate the tile fully, the only thing that is remaining is to drill through the wall so you can mount the accents.
Again, this is why we insist that you practice patience when drilling through the tile, as you do not want to crash into the wall and damage it. Therefore, once you feel you have touched the wall, remove the drill, and replace the bit with one that is more suitable for the material that makes up the wall.
Conclusion
There you have it; you have just drilled through your tiles successfully. The key takeaways are to know your tiles, the bits to use, and being calm and collected while drilling.
Featured Image Credit: Gray_Rhee, Pixabay
Contents
Writer
Pete Ortiz
Pete has been working in the trades since high school, where he first developed a passion for woodworking. Over the years, he has developed a keen interest in a wide variety of DIY projects around the home. Fascinated by all sort of tools, Pete loves reading and writing about all the latest gadgets and accessories that hit the market. His other interests include astronomy, hiking, and fishing.
As the founder of House Grail, Pete's primary goal is to help consumers make educated decisions about DIY projects at home, in the garage, and in the garden.