
You can scrub and mop your kitchen and bathroom floors all day long, but if the grout between your tiles is stained, all of your efforts will be wasted. A tile floor with stained grout is nearly impossible to get looking clean and fresh. No matter how clean the tiles are, the stains in the grout are what your eyes will notice.
So, we need to get rid of those stains for good. But grout is incredibly porous, and those stains run deep. A bit of surface cleaning isn’t going to cut it. We’re going to need to scrub hard and use the right mix of cleaning chemicals, natural or otherwise, to lift those stains and return the floor to its original state.
Luckily, cleaning up your grout and removing those hideous stains isn’t going to be as hard as you might expect. You will require only a few items, plus a bit of elbow grease. But if you follow these steps, your floor will look like it did when it was first installed before you go to bed tonight.

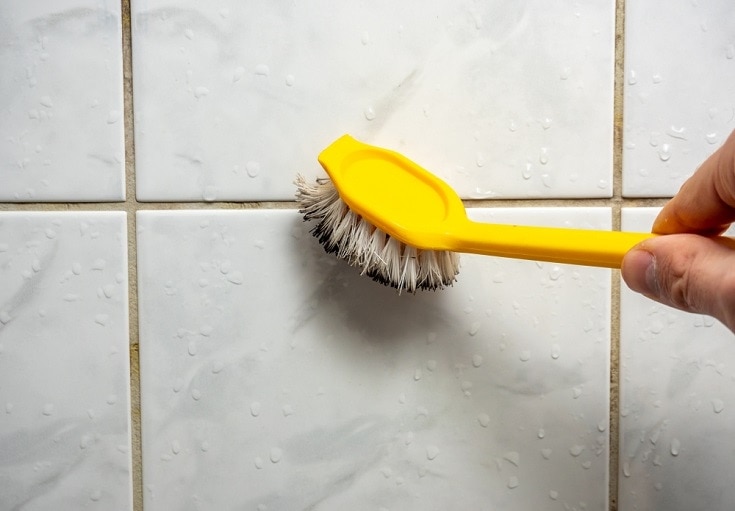
Stiff Bristles on Your Brush
No matter which type of cleaner you opt for, there’s one thing you’ll need to remove the stains from your grout: a stiff-bristled brush. There are plenty of these available, and you can easily find one at your local grocery store or even the dollar store. It doesn’t have to be anything special, but the bristles have to be hard enough to hold up to a rigorous scrubbing.
Natural Stain Removers
When we first start scrubbing the grout, we’re going to use natural products to try and renew the grout without the need for abrasive or harsh chemicals. While there are many natural cleaning products you can try, we have already determined the best options for getting rid of stubborn grout stains.
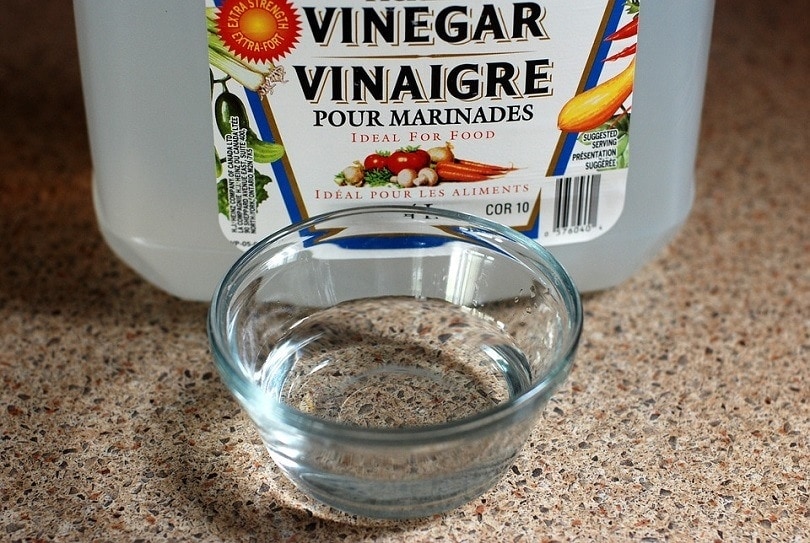
Vinegar is a powerful cleaner, and it can be great for removing grout stains too. It is cheap, non-toxic, and available everywhere. It’s the first product we’d recommend starting with.
If the vinegar doesn’t do the job on its own, you’ll want to bring in the big guns; baking soda and hydrogen peroxide. Again, these are easy-to-find items that are sold everywhere. Best of all, they’re very cost-effective, so renewing your floor and removing those stains doesn’t have to be expensive.
Commercial Cleaning Products
Most of the time, you’ll be able to remove all the stains from your grout by just using the natural stain removers we’ve already covered. But in rare cases, you’re going to need something even heavier.
Oxygenated bleach is the first place to start. Many brands produce oxygenated bleach, such as OxiClean or Clorox OxiMagic, but there are also many commercial grout cleaners on the market specifically made for cleaning grout. These can be a great choice if the natural remedies and oxygenated bleach fail to completely eradicate the stains in your grout.
If nothing seems to be working, then a final resort is standard chlorine bleach. You’ll want to be very careful when using chlorine bleach, though, as it can ruin your grout if left too long.
And should all else fail, a steam mop can be your last line of defense against dirty grout stains that are ruining the look of your kitchen or bathroom floor.

How to Clean Grout Stains
Now that we’ve gone over the basics regarding the items you’ll need to remove those unsightly grout stains, it’s time to get to work. We’re going to break down the specific steps you need to take to get rid of all the stains that are currently degrading your floor. Hopefully, after following these steps, your floor will look as good as it did when it was new.
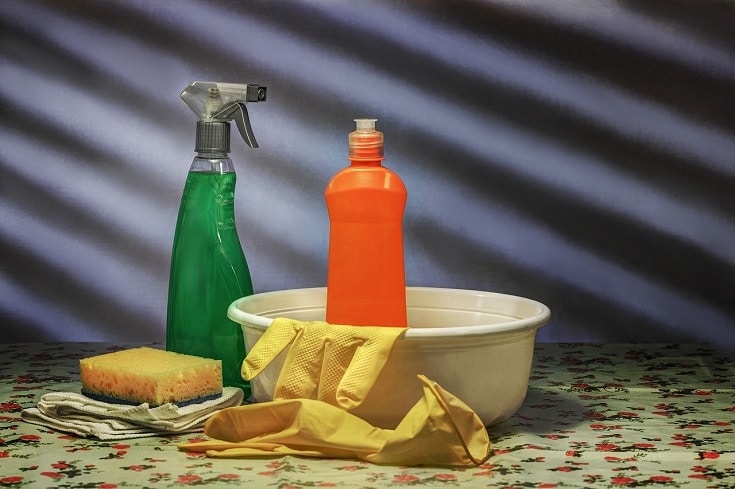
1. Gather Your Supplies
We’ve already discussed the supplies you’ll need, but before you get started, you need to actually gather them. Make a list of all the cleaning solutions you’ll be using. Start with vinegar, baking soda, and hydrogen peroxide. If the stains in your grout are particularly nasty, you might want to gather some heavier hitters ahead of time, like oxygen bleach, chlorine bleach, or even commercial grout cleaners. And definitely make sure you have a good brush with strong bristles for scrubbing.
2. Scrub With Warm Water
The very first step is to simply scrub the grout lines with warm water. If the stains aren’t deep in the grout, then this might be all it takes to refresh your floor.
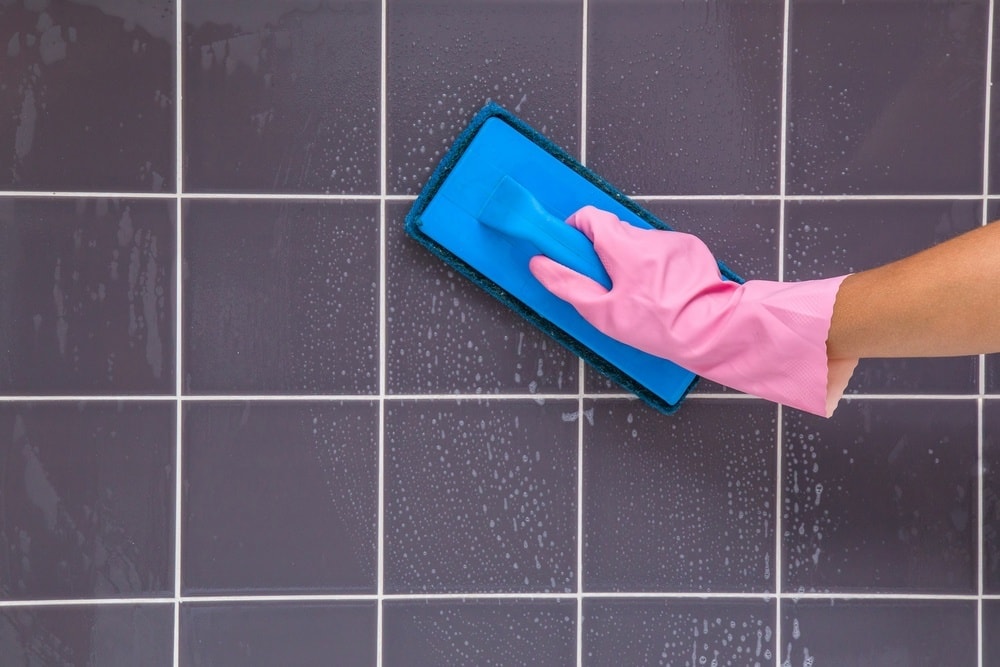
Spray your grout lines with warm or hot water and give it a few minutes to soak in before scrubbing with your brush. Afterward, wipe it all down, soaking up the excess water. If you’re lucky, your grout lines will already look substantially better. If not, proceed to step 3.
3. Vinegar and Elbow Grease
Vinegar is the go-to natural cleaning solution. It’s powerful but completely harmless. Fill a spray bottle with distilled white vinegar and spray the grout lines with it. You might want to limit yourself to spraying only a small area at a time. We recommend spraying an area no wider than two feet. The odor of too much vinegar could become overpowering!
After spraying the grout with vinegar, wait for about 10-15 minutes so it can soak in. Then, scrub hard with your brush. Once you finish scrubbing, wipe up the excess vinegar and rinse with water.
4. Baking Soda and Hydrogen Peroxide
You can almost consider the first three steps to be preliminary stages. But once you start using baking soda and hydrogen peroxide, you’re guaranteed to see some serious changes to the state of your grout. In fact, we often find that this mixture provides better results than commercial grout cleaners.
Start by covering the grout lines with baking soda. Then, using a spray bottle, spray hydrogen peroxide on the baking soda until it becomes a thick paste. Once it stops foaming, usually after about 15 minutes, you can start scrubbing with your hard-bristled brush.
After you finish scrubbing, rinse and wipe up the excess. You’ll probably find sparkling clean grout lines. But if you still see some signs of stains, it’s time to up the ante.
5. Oxygenated Bleach
Oxygenated bleach is chlorine-free, but it’s great for removing stains and whitening just about anything; only it’s devoid of the toxicity that accompanies standard chlorine bleach.
To use oxygenated bleach for cleaning grout, just spray or pour the bleach on the grout and give it 10-15 minutes to work. Then, scrub it thoroughly with your brush before rinsing and wiping off the excess. Regardless of how tough the stains in your grout are, by the time you finish this step, you should notice a serious improvement.
6. Commercial Grout Cleaners
With each step, the cleaners are becoming more powerful, so you’ll want to use them more sparingly. If nothing so far has succeeded in entirely eliminating the stains from your grout, then a commercial grout cleaner might be the solution you need.
There are many commercial grout cleaners to choose from, so take your pick. Then, apply it to the grout, ensuring you give it plenty of time to work its magic. Scrub the grout lines hard once the cleaner has had time to work. Rinse and wipe the area to see how successful your grout cleaning has been.
7. Get Rid of Past Evidence
Nearly 95% of grout stains should be eradicated by this point. Even the most stubborn stains should have been lifted. However, there is a small concentration of incredibly deep grout stains that will simply refuse to leave. If you’re unlucky enough to have some of these stains in your grout, then it’s time to call in the heavy artillery.
Before you move on to the next steps, you’ll need to be very careful to thoroughly rinse and clean the grout to remove the chemicals and cleaners you’ve used so far. Using additional chemicals can cause a reaction with the ones you’ve used previously, which can result in toxic fumes that you definitely don’t want to breathe in.
8. Chlorine Bleach (Use Sparingly)
Chlorine bleach is a powerful whitener and stain remover, but it can easily ruin your grout if left on too long. It also creates a highly toxic chlorine gas when mixed with vinegar, which is why you need to be very careful to thoroughly clean up any previous attempts at removing the grout stains.
Using just a small amount of chlorine bleach, scrub the grout lines with your brush. Give the bleach a little time to soak in, then scrub again. Make sure to rinse everything down thoroughly when you’re done.
9. Steam Clean for Stubborn Stains
If nothing else is working, a steam mop can be your last line of defense. If you end up purchasing a steam mop to remove those stubborn stains, it will also be good for helping to prevent them from returning in the future.
Conclusion
Removing old stains from grout can be a time-consuming and labor-intensive process. We’ve outlined the steps you need to take, but it’s still up to you to follow through. Once you’ve managed to remove those stains, you’ll want to regularly clean your grout with vinegar or baking soda and hydrogen peroxide to ensure that no stains return. It’s much easier to prevent them than to remove them once they’re set in.
Featured Image Credit: Animaflora PicsStock, Shutterstock
Contents